

Why Do Installers Like Me Choose CHYT lsolator Switch For Safer PV And Cleaner Maintenance?
2025-11-18
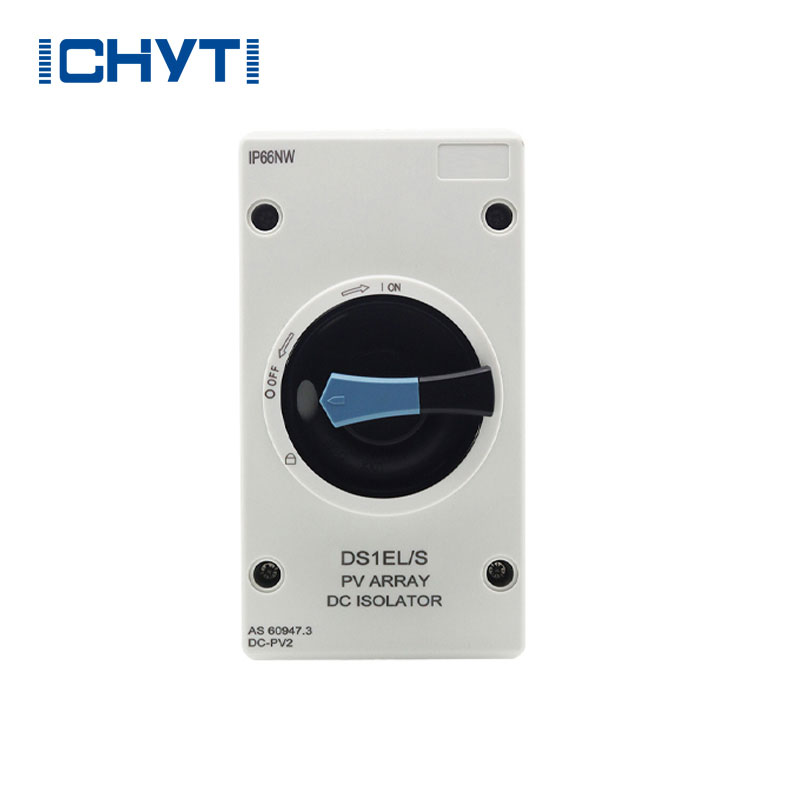
I manage solar and industrial projects that live outdoors through heat, rain, and impatient inspectors, so I reach for a lsolator Switch that gives me a visible, reliable break. Over the years, I’ve watched CHYT show up on more rooftops and cabinets because the small details—contact design, gasketing, hardware—cut my callbacks and help my crews move faster. I’m here to finish jobs that pass first time, and that’s exactly where a well-built lsolator Switch earns its keep.
What problems am I actually fixing when I install an lsolator Switch?
- Safe maintenance: a lockable, visible OFF lets my team isolate PV strings or AC feeders before hands go near conductors; the lsolator Switch is the clean “line in the sand.”
- Arc risk reduction: fast contact separation and arc chambers make routine service less stressful on high-DC systems.
- Clear responsibility: electricians, roof techs, and inspectors see the same handle position and tagout point.
- Fewer surprises: enclosure integrity keeps dust and water out so I’m not revisiting sites after the first storm.
How do I size and rate an lsolator Switch without wasting budget?
- Voltage headroom matters: I size above the array’s cold-weather open-circuit voltage so the lsolator Switch isn’t operating on the edge.
- Current with margin: I use string short-circuit current with realistic derating for heat; oversizing slightly is cheaper than downtime.
- Poles and configuration: for PV strings I prefer multi-pole DC switching so both positive and negative are isolated when required by local code.
- Duty category: I look for devices tested for frequent operation and loaded DC switching, not just “once-in-a-while” disconnects.
- Environment: UV-stable plastics, stainless hardware, and tight IP ratings keep the lsolator Switch honest after years of sun and salt.
Where does an lsolator Switch sit in a typical PV layout?
- Between module strings and the inverter for string-level isolation during troubleshooting.
- At the combiner or array boundary so roof crews can work while the inverter area stays live and secured.
- On the AC side when local rules want a service disconnect within sight of the meter or inverter output.
In practice, I place the lsolator Switch where technicians naturally stop before opening covers—right at eye level, with space for a lock.
What makes CHYT stand out on real job sites?
- Firm, positive handle travel that’s easy to glove-operate and obvious from a distance.
- Consistent torque specs and roomy wire bends that keep terminations tidy.
- Weather-ready housings and gaskets that survive rooftop life without going chalky.
- Skus that cover residential strings through commercial arrays, so I don’t juggle mixed brands.
Which quick comparisons help me choose faster?
| Scenario | Typical Array Voltage | Suggested Current Rating | Poles | Enclosure Target | Notes |
|---|---|---|---|---|---|
| Residential string isolation | 600–800 V DC | 25–40 A | 2–4 | Outdoor, UV stable | Mount near inverter; label the lsolator Switch clearly for inspectors. |
| Small commercial rooftop | 800–1000 V DC | 40–63 A | 4 | IP65 or better | Use lockable handles and weather caps on the lsolator Switch. |
| Ground mount array combiner | 1000–1500 V DC | 63–125 A | 4–8 | Corrosion-resistant | Consider shrouds; keep cable entries below the lsolator Switch to shed water. |
| Battery DC isolation | 48–800 V DC | 80–200 A | 2–4 | Indoor, ventilated | De-energize per BMS sequence before operating the lsolator Switch. |
| AC service disconnect near meter | 230–480 V AC | 40–100 A | 3–4 | Outdoor rated | Confirm local rules on “within sight” placement for the lsolator Switch. |
How do I install and label an lsolator Switch so inspections go smoothly?
- Mount on a flat surface at a comfortable reach height; keep the handle unobstructed.
- Dress conductors with proper bend radius; tighten lugs to the manufacturer’s torque spec.
- Use ferrules or lugs suited to the conductor class; avoid mixed metals without proper interfaces.
- Apply durable labels: source, voltage, current, and the equipment the lsolator Switch controls.
- Perform a functional test under light load, then re-torque after initial thermal cycles.
Why does the choice of lsolator Switch affect lifetime cost?
- Fewer callbacks: better sealing and plastics mean fewer moisture-related faults.
- Faster service: a crisp, lockable handle shortens maintenance windows.
- Scalable stock: one platform across sizes cuts training time and spare inventory.
On multi-site programs, that stability compounds—one reliable lsolator Switch spec saves hours every month.
Who gets the most value from CHYT on real projects?
- Installers who want consistent feel and labeling across crews and regions.
- EPCs standardizing BOMs for residential, C&I, and utility-adjacent builds.
- Facility teams that need a tough, obvious isolation point for routine work.
Would you like a tailored recommendation for your array?
If you want me to match a lsolator Switch to your voltage window, current, and environment, send me your one-line diagram or basic specs and I’ll shortlist the right lsolator Switch options from CHYT that balance cost, durability, and code fit. I’m happy to talk through placement, labeling, and inspection prep so your next visit ends with a clean sign-off.
Ready to move from research to a clean install?
Tell me about your project size, site conditions, and timeline—I’ll respond with a concise configuration and a parts list centered on the lsolator Switch you actually need. If you’re comparing bids or replacing aging hardware, reach out and let’s make it simple. Please contact us with your questions or RFQ, and leave an inquiry now so we can lock in availability for your build.